Color gradients are beautiful! It doesn’t matter if you put the color gradient in the background or somewhere else; wherever you put it, it’s beautiful! That’s why in this blog post, we’ll learn how to make a gradient in Procreate.
There are five easy steps for you to follow to create a beautiful color gradient.
1. Add the colors
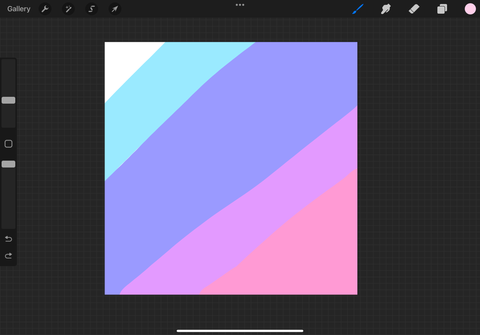
Add the colors for your color gradient. Color the part of the canvas you want to feature the gradient (that would be the whole canvas if the gradient will be the background).
At this step, the canvas should look something like the picture.

2. Blur
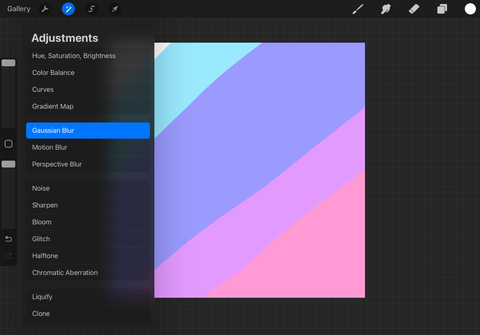
Open adjustments (looks like a wand in the upper, left corner of the screen). Tap “Gaussian Blur”. To blur, put your finger on the screen and slide it towards the right. To decrease the blur, slide your finger towards the left side of the screen. When you’re done blurring, click adjustments to save the blur.

3. Adjust to your liking
This step will differ based on how you want to use the gradient. You could move the layer featuring the gradient to the bottom of the layers to make it the background. If you want to put the gradient inside of something, you might be erasing the excess gradient. You might also want to make the gradient stronger. There are two things you need to know if you’re doing either one of these things: first, how to move a layer, and, two, how to duplicate a layer.
To move a layer, hold your finger on it until it bobs. Then, move it to the desired spot and lift your finger off the screen.
To duplicate a layer (this makes the gradient stronger), put your finger on the right side of the layer and swipe to the left. Click “Duplicate”.
That’s how you create a color gradient.

